DIY Porch Sign with Stencils!

Have you ever seen those tall front porch signs that usually say WELCOME?
Here's my DIY version!
I didn't want to spend $30-70 just for one sign. So with the help of Home Depot, some old wood in my garage, and The Stencil Smith, I made a REVERSIBLE Fall/Christmas sign for way less!
We had some old boards in the garage, so Jonathan cut me a piece that was approx. 15" wide by 65" tall. The stencils I use are 60" tall.
FIRST: paint the boards! This beautiful orange is called Orange Flambe by BEHR at Home Depot:

Next, I laid out the stencil to place it on the board and did a PRACTICE board. I highly recommend a practice piece so you can see how that particular stencil works.
TIP: Use very LITTLE paint when stenciling, almost nothing on the brush. I was cautious and my letters turned out lighter/fainter at first, but I'd rather have it lighter than bleeding through the stencil!
This is the "Hello There Pumpkin" stencil from The Stencil Smith. There are so many Fall options and more on their site.


Now it was TIME TO PAINT! I did two boards with this stencil, one with white letters and the other with orange letters! It got easier as I went along.
With this particular long stencil, it comes in sections, so you tape down each section and paint, then line up the next one before removing the previous section. The stencil comes with "registration marks" or little plus signs to line up each panel.


Here is the FINAL result of the Pumpkin Stencil side!

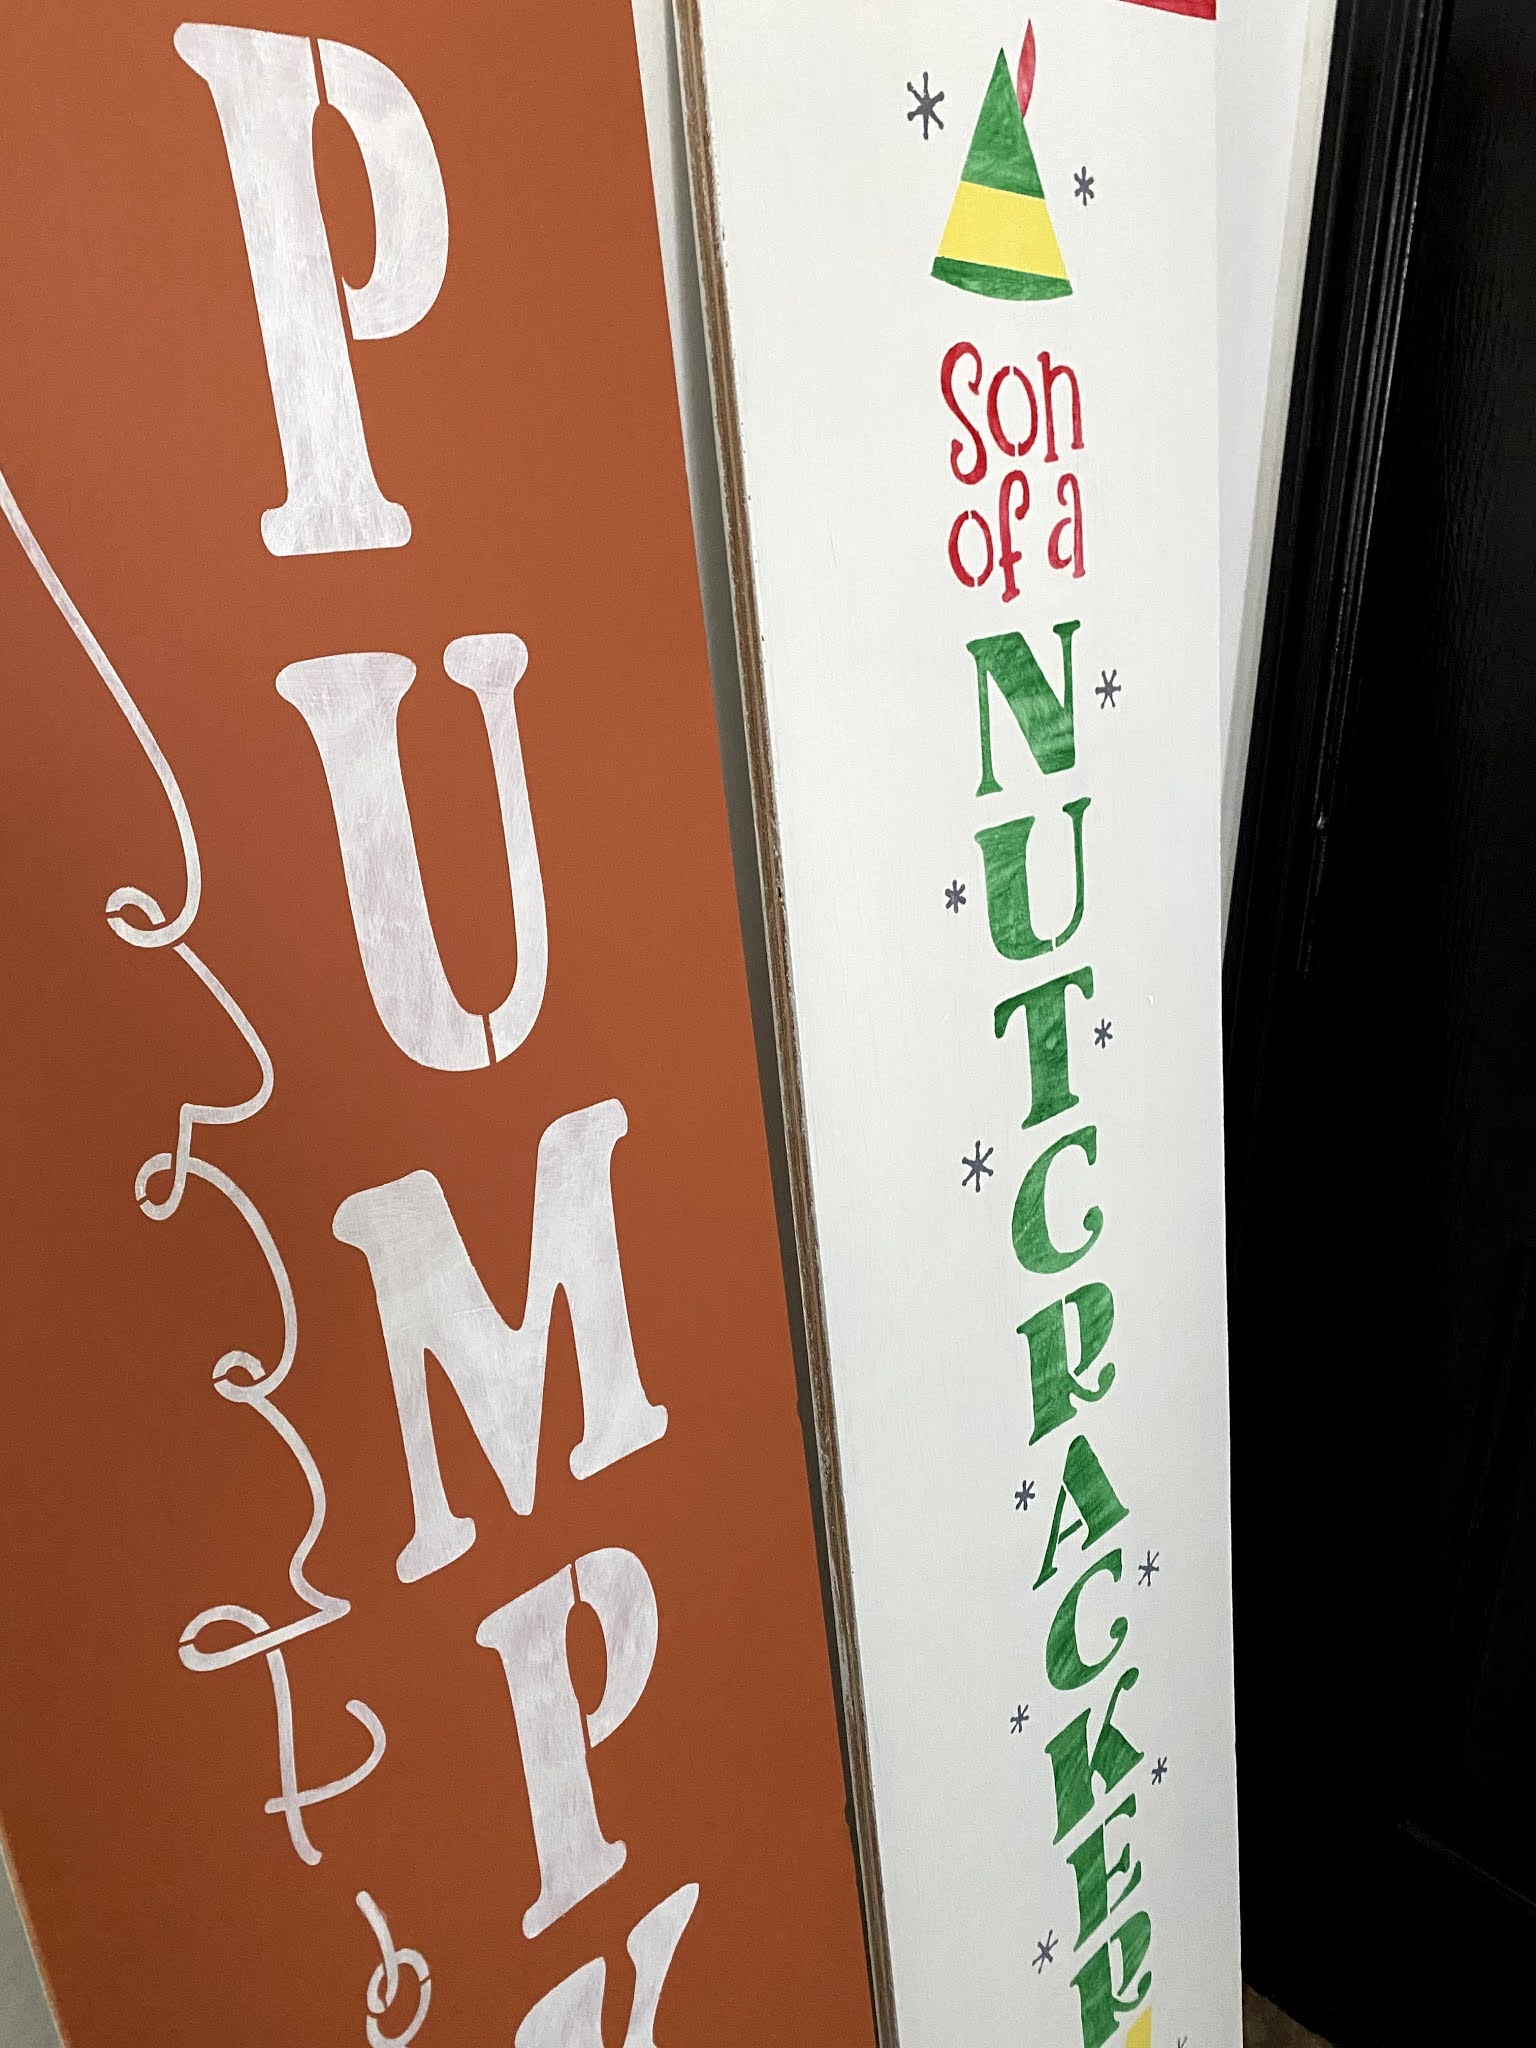
After it all dried, I flipped the boards over and did the same process but with the CHRISTMAS stencil!


My FAVORITE Christmas movie (or any movie) of all time is Elf, so this was a no-brainer. I almost went with a more classic, "Be Merry," sign, but realized this was ME and I needed to try it.
I had some extra room on this board, so I added a red stripe to the top and bottom as a border!

Here are the two finished boards side by side!!


I kept one board for me and gave the other to my sister-in-law for her porch! Here are some things I learned from this DIY:
1. Use a LIGHT amount of paint.
There should be almost no paint on the brush and you move the brush very lightly in short movements. I used both a regular brush and a sponge brush and I liked the regular paintbrush better.
2. Hold down the stencil as you go.
To avoid bleeding through or mistakes, hold every part as you go along and GO SLOW!
3. Don't worry about perfection:
Since this is a fun Fall project, I wasn't worried about perfection. I kept reminding myself, "You don't have a sign business, you aren't selling these!"
So little imperfections are OK.
Let me know what you think of the reversible Fall/Christmas sign! You can also find stencils online and print them on your computer. If you like vinyl lettering, that's a great DIY option too. Or, if you're artistic, you can freehand some!
Thanks for reading!